
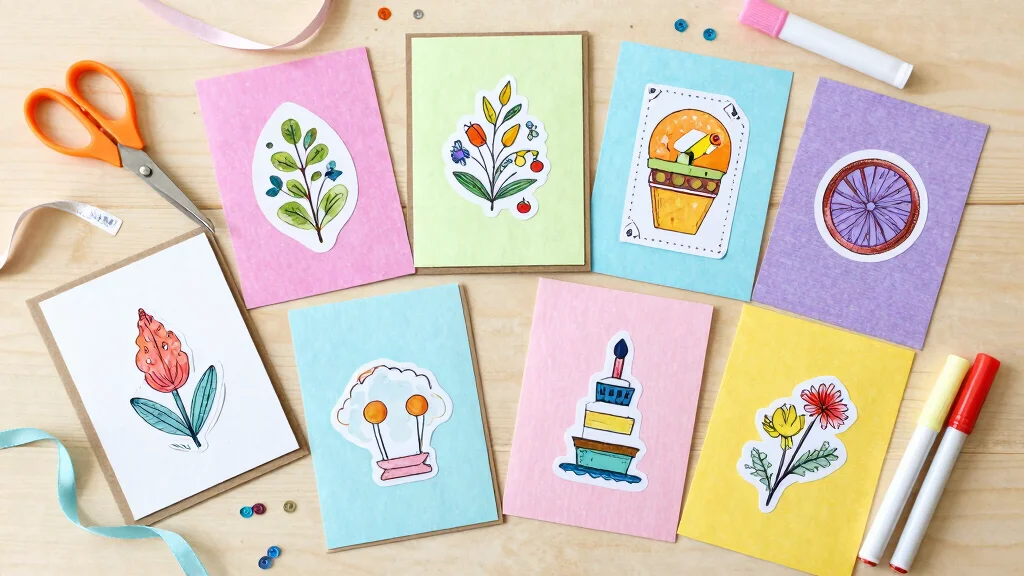
Creating cards can be one of the simplest yet most meaningful ways to express your feelings. Whether it’s a birthday, a holiday, or just a note to say “I’m thinking of you,” handmade cards add a personal touch that store-bought options simply can’t match. I’ve put together this guide because I know that sometimes you just need a quick, creative outlet without the stress of complicated techniques or expensive materials. Crafting should be fun and enjoyable, not intimidating!
If you’re someone who loves DIY projects or just wants to try something new, this collection of easy card ideas is perfect for you. These ideas cater to all skill levels, especially beginners, so you can dive in without worry. Each card concept is designed to be simple yet creative, making them perfect for quick crafting sessions.
In this post, you’ll discover twelve easy card ideas that are not only fun to make but also visually appealing. From simple watercolor cards to interactive pop-ups, these designs will inspire you to unleash your creativity. No matter what occasion you’re crafting for, you’ll find something that fits your needs and sparks your imagination. Let’s get started on this delightful crafting journey together!
Key Takeaways
– Learn how to create cards using various techniques, such as watercolor and origami, that are perfect for beginners and quick crafting sessions.
– Discover simple card designs that require minimal materials, allowing you to craft without feeling overwhelmed.
– Explore DIY greeting cards that can be personalized for special occasions like birthdays, holidays, and just because!
– Gain tips on incorporating interactive elements into your cards, making them more engaging and delightful for the recipient.
– Find inspiration for beginner craft projects that offer both creativity and enjoyment, perfect for any skill level.
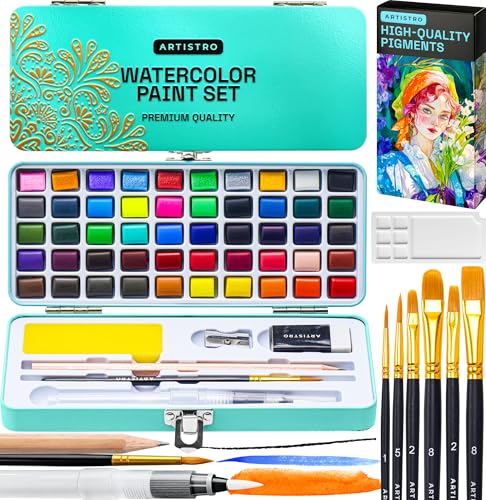
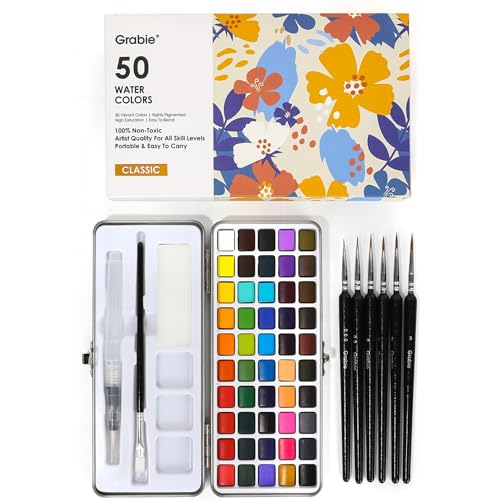
1. Simple Watercolor Cards

Watercolor is a fantastic medium that makes card making accessible and enjoyable. With just some vibrant paints, a brush, and cardstock, you can craft stunning designs that are uniquely yours. Create beautiful washes of color or simple shapes like hearts and flowers. The beauty of watercolor is that happy accidents can turn into delightful surprises with just a splash of water!
To create your watercolor cards, gather your materials and dive in. Start with a color wash across the card and let your creativity flow. Layer additional colors for depth or add simple designs after drying. Don’t stress over perfection; the organic look often adds to the charm!
Key steps to get started:
– Gather your watercolor paints and cardstock
– Experiment with blending colors for unique effects
– Finish with a personal greeting using a fine-tip marker
Crafting watercolor cards is a relaxing activity that lets your creativity shine. You’ll find joy in expressing your artistic side while making something special.
Watercolor cards prove that easy card ideas can feel fancy with just a splash of color. When you pick up a brush, even beginners discover you don’t need perfection—just a little joy and a lot of creativity.


2. Origami Folded Cards

Origami isn’t just for cranes; you can create cards that wow your friends! A folded origami heart or flower can serve as a delightful focal point, adding a touch of art to your card. These unique creations are sure to impress anyone who receives them!
To start, choose some colorful origami paper and a simple design to fold. Attach your origami piece onto a card with glue for an extra special touch. Don’t forget to write a heartfelt message inside to complete your creation.
Get started with these steps:
– Choose colorful origami paper for eye-catching designs
– Follow a tutorial for easy folding instructions
– Personalize your card with a meaningful note inside
Origami cards are not only creative but also show thoughtfulness, making them cherished keepsakes for your loved ones.
📹 Related Video: DIY Paper SURPRISE MESSAGE CARD | Pull-Tab Origami Envelope


3. Stamped Cards

Stamps can quickly add a personal touch to your cards with minimal effort. With just a few rubber stamps and ink pads, you can create eye-catching designs that stand out. Whether you prefer elegant or whimsical styles, stamped cards offer endless possibilities for creativity!
To get started, choose your favorite stamps and ink colors. Press the stamp onto the ink pad and then onto your card’s surface for a fun effect. Layer different shapes and colors to create a dynamic look.
Here’s how to begin:
– Select rubber stamps that resonate with your theme
– Use various ink colors for a vibrant design
– Experiment with layering stamps for added depth
Every stamped card you create will showcase your unique style, making them a delightful addition to your crafting collection.
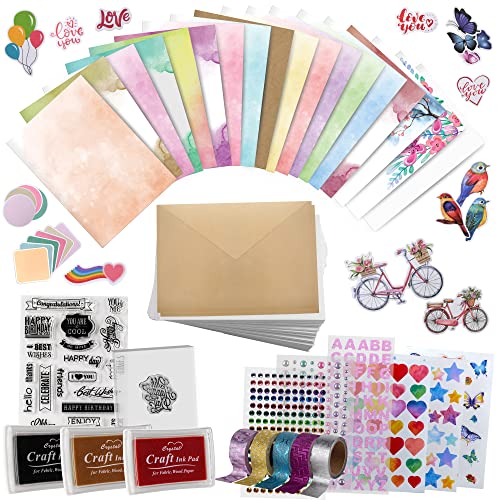


4. Collage Cards

Collage cards are a fantastic way to express your creativity using images and quotes. Gather your favorite pictures, cutouts, and scrap paper to create a unique card that truly reflects your personality. This art form allows you to blend different elements into a cohesive and beautiful design!
Start by selecting images and quotes that resonate with you. Arrange them on your card, glueing everything down to create layers. Add embellishments like glitter or stickers for that extra flair!
Steps to create your collage:
– Collect images and quotes from old magazines
– Arrange and layer them on your card base
– Use glue to secure everything and add embellishments
Collage cards unleash your imagination, making each card a unique masterpiece that conveys your personal touch.
Collage Cards
Editor’s Choice


5. Hand-Lettered Cards

If you enjoy lettering, hand-lettered cards are a beautiful way to showcase your talent. Write inspiring quotes or heartfelt messages that transform a simple card into a work of art. This personal touch makes your cards feel extra special!
To create your own hand-lettered card, start with a light pencil sketch of your design. Then, trace over your letters with a marker for a polished finish. Decorate with doodles or borders to enhance your design.
Here’s how to get started:
– Use high-quality markers for vibrant lettering
– Sketch your design lightly before inking it
– Add decorative elements to complement your message
Hand-lettered cards are meaningful treasures that loved ones will cherish for years to come.


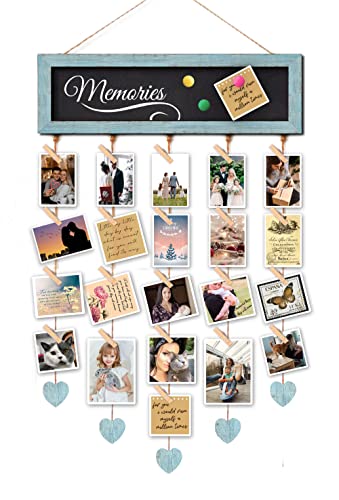
6. Photo Cards

Personal photos can elevate your cards to something truly special. Using a cherished memory, such as a family portrait or a scenic shot, can create a heartfelt connection with the recipient. This personal touch makes your card a memorable keepsake!
Begin by selecting a favorite photo and printing it in your desired size. Attach the photo to your card, then add decorative elements like washi tape or stickers to enhance its appeal. Finally, write a personal message inside to complete the sentiment.
Steps to create photo cards:
– Choose and print your favorite photos
– Attach the photo to cardstock for a sturdy base
– Adorn the card with decorative touches
Photo cards create lasting memories and foster a deeper emotional connection with your loved ones.
Photo Cards
Editor’s Choice


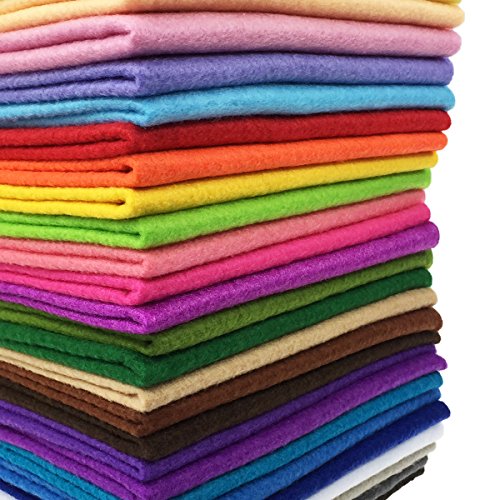
7. Nature-Inspired Cards

Incorporating elements from nature into your card designs can create beautiful and charming pieces. Use dried flowers, leaves, or small twigs to craft cards that celebrate the beauty of the outdoors. Nature-inspired cards are perfect for those who appreciate the natural world!
Start by gathering small, flat natural elements and arranging them on your card. Use glue to secure them in place, and consider adding a light watercolor wash as a background for a pop of color. Write a thoughtful message to complete your creation.
Here are the steps to follow:
– Collect small natural elements for your design
– Arrange and glue them on your cardstock
– Add watercolor for a splash of color if desired
Nature cards not only capture beauty but also tell a story of their origin, making them truly special.
Fun fact: 82% of crafter surveys show nature-inspired cards feel more personal and memorable. Collect small dried flowers, leaves, or twigs, arrange them on your card, secure with glue, and add a light watercolor wash for a pop of color—perfect for easy card ideas.

8. Pop-Up Cards

Add an exciting twist to your card making with pop-up designs that surprise and delight! When opened, these cards can reveal fun shapes like cakes or flowers, making them a memorable gift for any occasion. The interactive element adds a playful touch to your greetings!
To create your pop-up card, start by folding a piece of cardstock in half for your base. Cut slits in the folded section to shape your pop-up design. Decorate the background and add details to your pop-up for extra flair.
Steps to create pop-up cards:
– Fold cardstock in half to form your card base
– Cut slits to create your pop-up shape
– Decorate around the pop-up for added interest
Pop-up cards bring joy and fun, making them a delightful surprise for anyone who receives them!
Pop-Up Cards
Editor’s Choice


9. Quote Cards

Sometimes, the right words can uplift someone’s spirits. Quote cards focus on meaningful phrases and sayings that bring joy or inspiration. They are simple to create yet powerful in their impact!
To craft your quote cards, begin by choosing a quote that resonates with you. Letter it onto your card or use stamps for a polished finish. Enhance the card with decorative accents to make it visually appealing.
Get started with these steps:
– Select a meaningful quote or saying
– Letter it or stamp it onto your cardstock
– Add decorative elements around the quote for flair
Quote cards are perfect for any occasion, offering encouragement and positivity to those who receive them.
Quote Cards
Editor’s Choice


How To Choose The Right Card Design for Your DIY Greeting Cards
When it comes to crafting your own greeting cards, choosing the right design can make all the difference. With so many options available, it’s essential to consider a few key elements to ensure your card turns out just how you envision. Here’s how to select the perfect card design for your next DIY project.
1. Purpose of the Card
First, think about the occasion for the card. Are you making a birthday card, a thank-you note, or a holiday greeting? The purpose will guide your design choices. For example, a birthday card might be colorful and festive, while a sympathy card should be more subdued and respectful. Understanding the purpose will help you narrow down your creative options.
2. Skill Level
Consider your experience level with card making. If you’re a beginner, you might want to start with simple card designs that don’t require advanced techniques. Look for easy card ideas like basic folded cards or stamped designs that can be completed quickly. As you gain confidence, you can try more complex projects like pop-up cards or intricate layered designs.
3. Materials
Think about what materials you want to use. Basic cardstock is a common choice for card bases, but you can also explore other options like watercolor paper for painting or recycled materials for a more eco-friendly approach. Depending on your chosen design, you may need embellishments such as ribbons, stickers, or stamps. Make sure to have all necessary materials on hand before you start crafting.
4. Color Scheme
Choosing your color palette is essential for setting the mood of your card. Bright colors can evoke feelings of joy and celebration, while softer tones can create a calming effect. Select colors that complement each other and fit the occasion. You might want to use color theory basics, such as complementary or analogous colors, to enhance your design.
5. Personal Touch
Adding a personal touch can make your card truly special. Think about including a heartfelt message, a photo, or hand-drawn elements. Personalization makes the card more meaningful to the recipient. You can also consider incorporating elements that reflect the recipient’s interests or hobbies for an extra special touch.
6. Time Constraints
Finally, consider how much time you have to complete the card. If you need a card quickly, opt for quicker designs like simple watercolor cards or stamped cards. If you have more time, feel free to explore complex designs involving layering or interactive elements. Knowing your time limits will help manage your expectations and reduce stress during the crafting process.
Pro Tip:
If you’re unsure about your design, browse through online platforms like Pinterest or Instagram for inspiration. You can find a treasure trove of creative card ideas that can spark your imagination. Don’t hesitate to mix and match concepts that resonate with you!
By keeping these factors in mind, you’ll be better equipped to choose an engaging card design that suits your needs and the occasion. Enjoy the process of making your own DIY greeting cards and let your creativity shine!


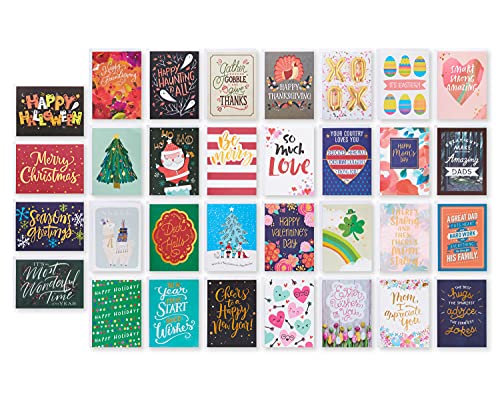
10. Holiday-Specific Cards

Holidays provide the perfect opportunity to create themed cards that capture the spirit of the season! Whether it’s Christmas, Halloween, or Easter, you can design greetings that reflect the joy of the occasion. These cards can become cherished keepsakes for years to come!
Choose a holiday theme and gather seasonal decorations for your card. Design your card with festive imagery and embellishments to make it truly special. Write a seasonal greeting inside to complete the festive feel.
Here’s how to create holiday cards:
– Select a holiday theme and festive colors
– Decorate with imagery related to the holiday
– Incorporate embellishments for an extra sparkle
Holiday cards spread joy, making them a delightful addition to your celebrations.

11. Interactive Elements Cards

Bring a playful touch to card making by adding interactive elements like sliders or flaps! These features engage the recipient, making your card not just a greeting, but a little experience. It’s a fun way to create lasting memories!
Start by cutting out pieces that you can attach with fasteners to allow movement. Create a base card and decorate around the interactive parts to highlight them. Write a message that encourages the recipient to interact with the card.
Steps to create interactive cards:
– Cut pieces that move when pulled or pushed
– Attach them using paper fasteners for functionality
– Decorate to emphasize the interactive elements
Interactive cards bring joy and laughter, creating a memorable experience for everyone who receives one!


12. Simple Fold and Cut Cards

For a quick and easy card-making option, simple fold and cut cards are ideal. This method requires minimal materials and is perfect for last-minute gifts. You can create charming cards with just a few snips!
To make these cards, start by folding a piece of cardstock in half for your card base. Cut simple shapes along the fold to create unique designs or windows. Open the card to reveal your cut-out patterns and add a message inside if you wish.
Here’s how to create them:
– Fold cardstock in half to form the card base
– Cut shapes along the fold for interesting designs
– Add a personal message inside for a thoughtful touch
These cards are perfect when you’re short on time but still want to create something special!
Did you know that simple fold and cut cards can cut crafting time by up to 50%? With just a few snips, you can create charming designs in under 5 minutes, perfect for easy card ideas and last-minute gifts.
Simple Fold and Cut Cards
Editor’s Choice


Conclusion

Crafting your own greeting cards opens up endless possibilities for creativity and personal expression. Whether you choose to go with watercolor, a pop-up surprise, or a heartfelt quote, each card reflects a piece of you. As you explore these easy card ideas, remember that the joy of crafting lies in the process and the love you put into every creation. Embrace it, and let your imagination run wild!
Happy crafting!
Note: We aim to provide accurate product links, but some may occasionally expire or become unavailable. If this happens, please search directly on Amazon for the product or a suitable alternative.
This post contains Amazon affiliate links, meaning we may earn a small commission if you purchase through our links, at no extra cost to you.
Frequently Asked Questions
What are the best easy card ideas for beginners to get started quickly?
Great for beginners, these easy card ideas focus on quick card making with minimal supplies. Start with a simple design like a tag card or a monochrome layered card, pick one of the 12 ideas, gather basic supplies, and follow a tiny template. Then add a personal touch with a handwritten sentiment. Pro tips: pre-cut shapes, use double-sided tape, and keep embellishments to 1-2 pieces.
For even faster results, assemble cards in a mini-batch and store ready-to-use elements for future projects. Using simple card designs helps you finish more cards in less time.
What supplies do I need for beginner-friendly DIY greeting cards?
Here’s a practical starter kit for beginner-friendly DIY greeting cards. Essentials: blank or folded cardstock, envelopes, scissors, a ruler and pencil, adhesives (glue runner or double-sided tape), a few decorative papers, and a simple stamp or printable sentiment. Optional but helpful: markers or colored pencils, a small pair of craft tweezers, a punch or die-cut shapes, and a few basic embellishments (stickers, washi tape, twine). The key is to keep it minimal so you can create easy card ideas quickly.
As you get comfortable, you can add creative card ideas and simple techniques without complicating your setup.
How can I customize these easy card ideas for different occasions?
Want to customize these easy card ideas for different occasions? Start with a consistent focal element such as a stamped image or die-cut shape, then switch the color palette and sentiment to suit birthdays, anniversaries, thank-you notes, or holidays. For birthday cards, use bright papers and a playful font; for sympathy, choose soft neutrals and a simple blossom; for thank-you cards, add a small ribbon or sticker. Keeping a few simple card designs in your toolkit makes it easy to adapt with just a change of color and message.
Tip: save one or two base layouts and rotate colors and sentiments to keep your process quick and enjoyable.
Are there quick tips to speed up card making without sacrificing quality?
Yes—here are quick tips to speed up quick card making without losing quality. Batch your work by cutting all pieces first, then assemble. Use templates or cutouts to reuse a single layout across multiple cards. Keep a small stash of ready-to-use backgrounds, sentiments, and embellishments so you can finish a card in minutes. Limit embellishments to one focal element for a clean, simple card design look. Finally, set up a dedicated space so you spend less time looking for supplies and more time crafting.
Where can I find more inspiration or tutorials to grow from beginner to intermediate with these simple card designs?
Want more inspiration as you grow from beginner to intermediate with these creative card ideas? Explore online tutorials and card-making communities that focus on easy card ideas, simple card designs, and DIY greeting cards. Save a few favorite layouts from blogs or YouTube channels, print templates, and try new techniques one at a time. Practice with the 12 ideas from the article, join a local crafting group or an online forum, and challenge yourself with mini-projects to expand your beginner craft projects into fuller, more creative cards.
By sharing your work and swapping ideas with others, you’ll discover new creative card ideas and gradually build confidence with easy card ideas and simple card designs.
Related Topics
easy card ideas
simple card designs
beginner crafts
DIY greeting cards
quick card making
creative card techniques
seasonal cards
last-minute gifts
budget-friendly crafts
family-friendly projects
handmade cards
personalized greetings